In valid8Me, you have the ability to design workflows that dictate the sequence in which tasks are finalised.
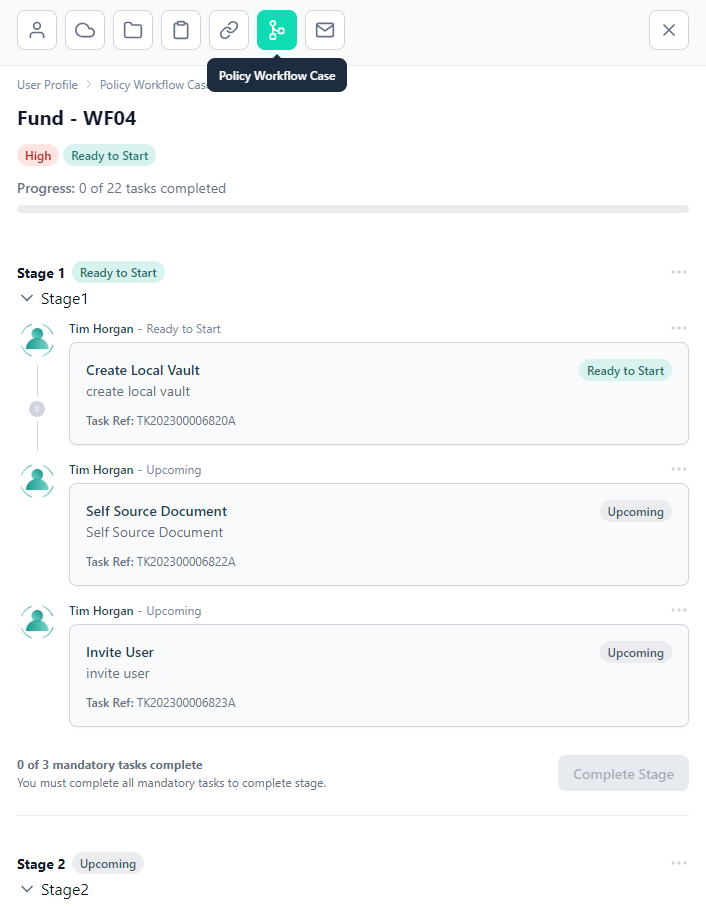
Stages can be included to provide the valid8Me user with a clear sequence of tasks for that particular workflow. In this example we can see that there are three tasks assigned to Tim Horgan that need to be completed before Stage 2 can begin
To begin setting up a workflow, start by selecting the specific vault where you want to apply the workflow from the Vault Hub. Once you have chosen the vault, locate and click on the Policy Workflow Case icon to proceed with the configuration.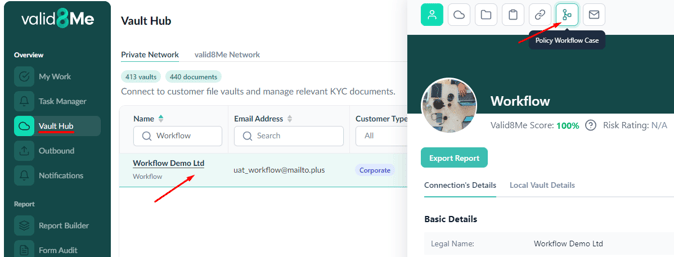
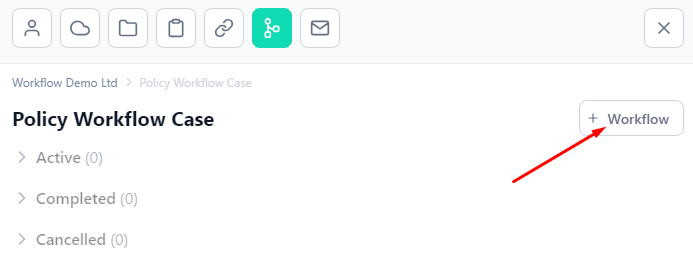
Next, click on the button labelled "+ Workflow".
Choose the desired Product/Service from the available options and click on "Apply Workflow".

Select the workflow that you want to assign to the vault (Corporate - WF06) and then click on "Bulk Assign Tasks" or "Apply Workflow".

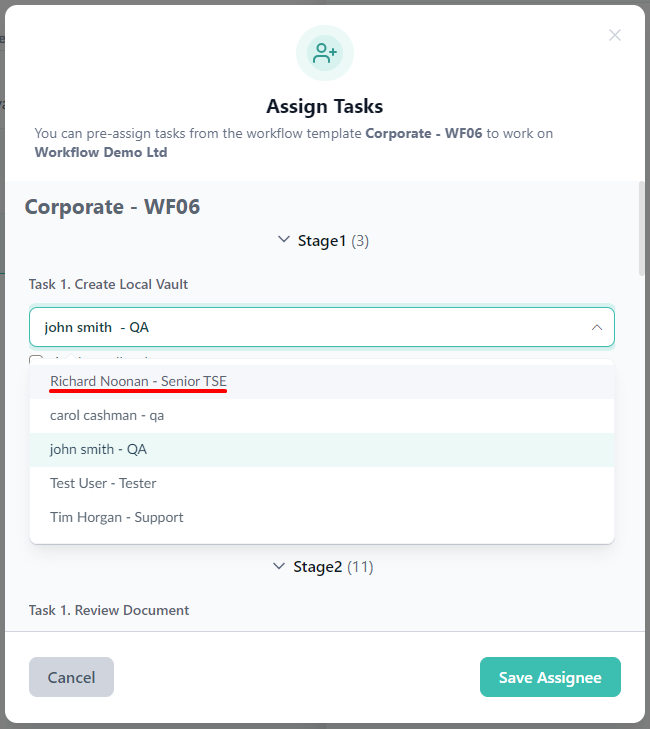
If you choose "Bulk Assign Tasks," a pop-up window will appear, displaying the individuals assigned to each task. You have the option to reassign tasks if necessary.
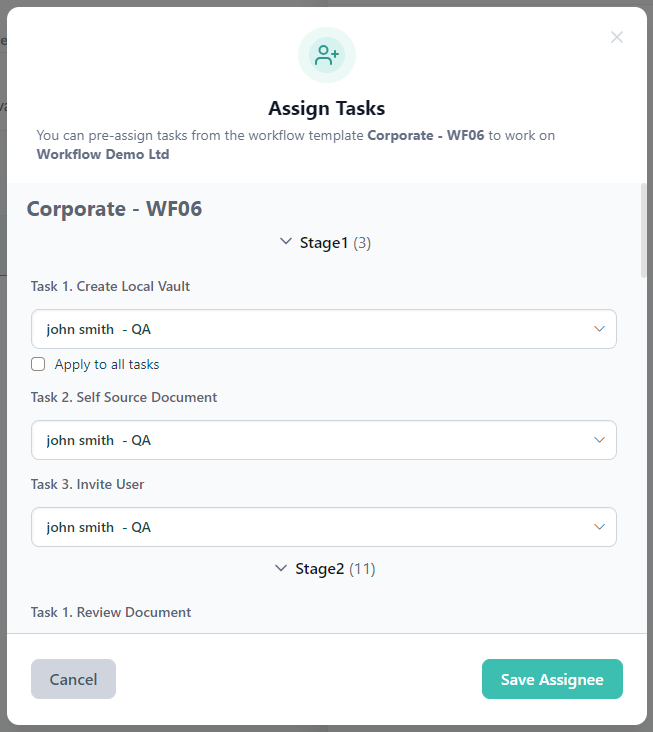
You have the option to keep the assignees as they are or you can reassign tasks as needed.
Once the tasks have been assigned, you will see "Pre-assigned" displayed on the workflow. At this point, you can click on "Apply Workflow" to proceed.

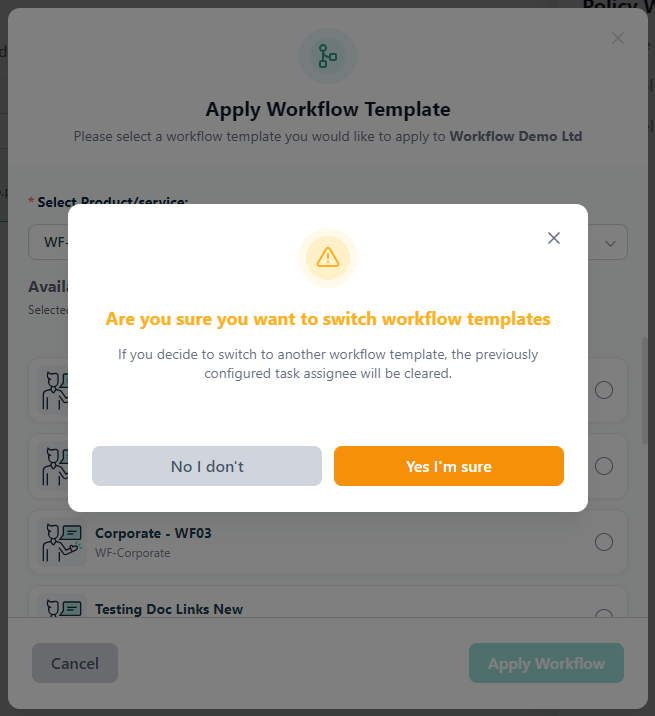
If you decide to change your selection or realize that you have chosen the wrong template, you can easily deselect it by unchecking the checkbox.

You will then receive a prompt asking for confirmation if you want to switch workflow templates. If you confirm, the previous assignee(s) will be cleared from the tasks.
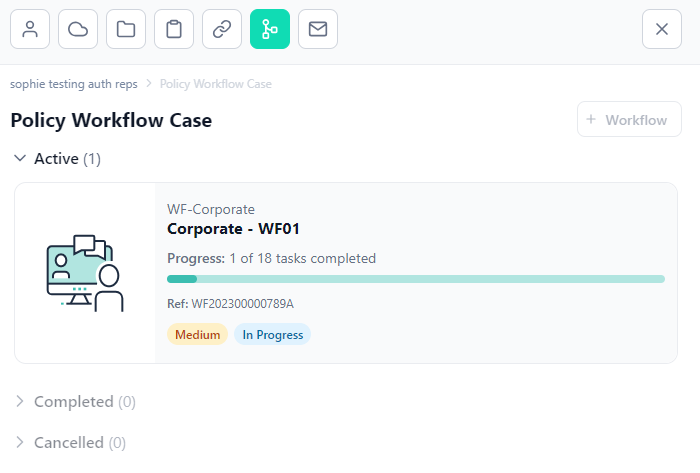
At this point, you will be able to observe that the workflow has successfully been incorporated into the vault.
If you need any further assistance with this process please email our Support team at support@valid8me.com