You have just received an email with a request to share documents on behalf of a company. Let's take you through the process of setting up your profile/vault and the company's profile/vault.
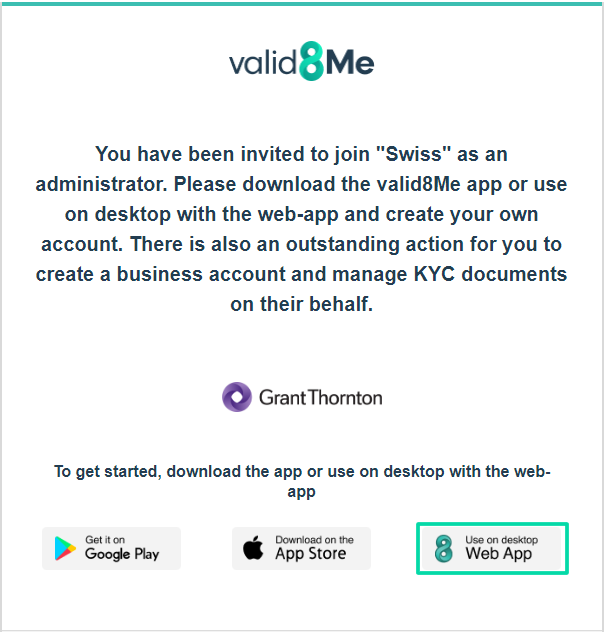
You have just received the following email:

Follow the instructions in the email and set up your individual profile on valid8Me through the mobile app or desktop portal. In this example, we're going to guide you through the process of getting set up with the desktop portal.
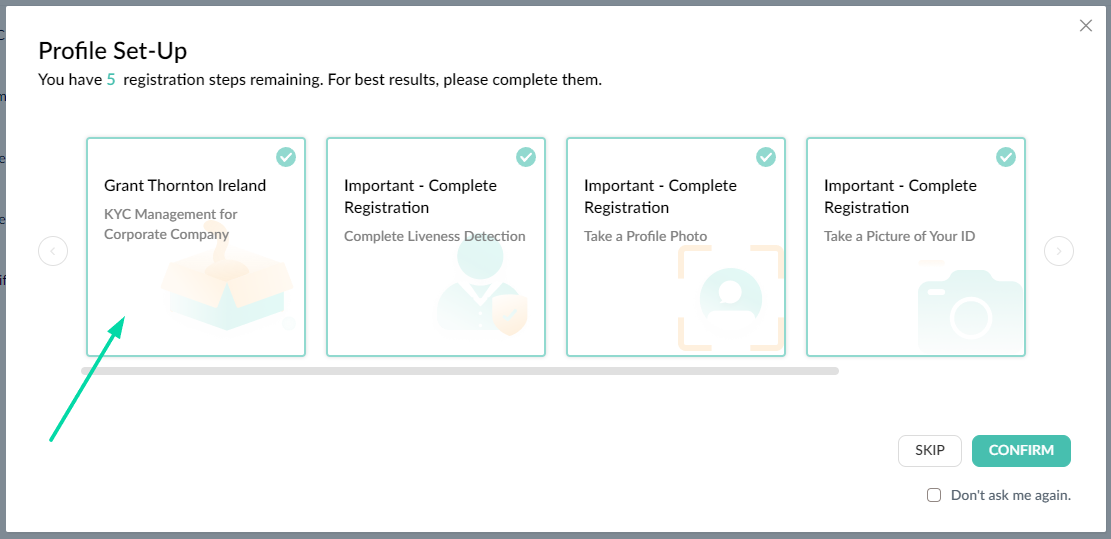
Once you have logged in, you will see a list of actions, with the first one being a request to confirm that you will be managing the documents on behalf of your company.

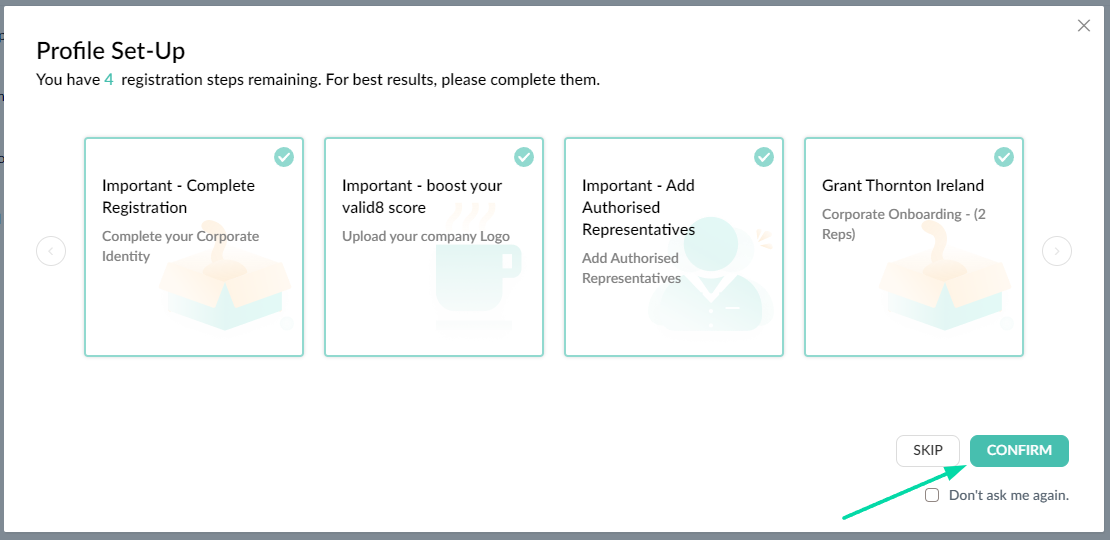
Select "Confirm" to begin this process.
As mentioned earlier, the first step of the process is to confirm that you will be managing documents on behalf of your company. To proceed, select "Yes, I do."

A corporate profile/vault will now be set up for your company on valid8Me. If you have a separate corporate email address for this company, please add it here. If not, you can skip this step:

You will now see a prompt stating that there is a request to provide documents for this new corporate profile/vault that we have set up. Select "Confirm" and then click the toggle at the top right of your screen to switch between your Individual and Corporate profiles on valid8Me.
(Before proceeding, you can select "Actions" on your Individual Vault and complete the Liveness Detection, upload your profile photo, and upload a copy of your documents to use later if needed).
Select the corporate profile to proceed and share your company documents:

Select "Confirm" to complete the corporate profile setup. Here, you will be prompted to add your company address, logo, and other details.
Once you reach the step where you're asked to add Authorised Representatives, you can select "Cancel" for now, as you will complete that process in full shortly:

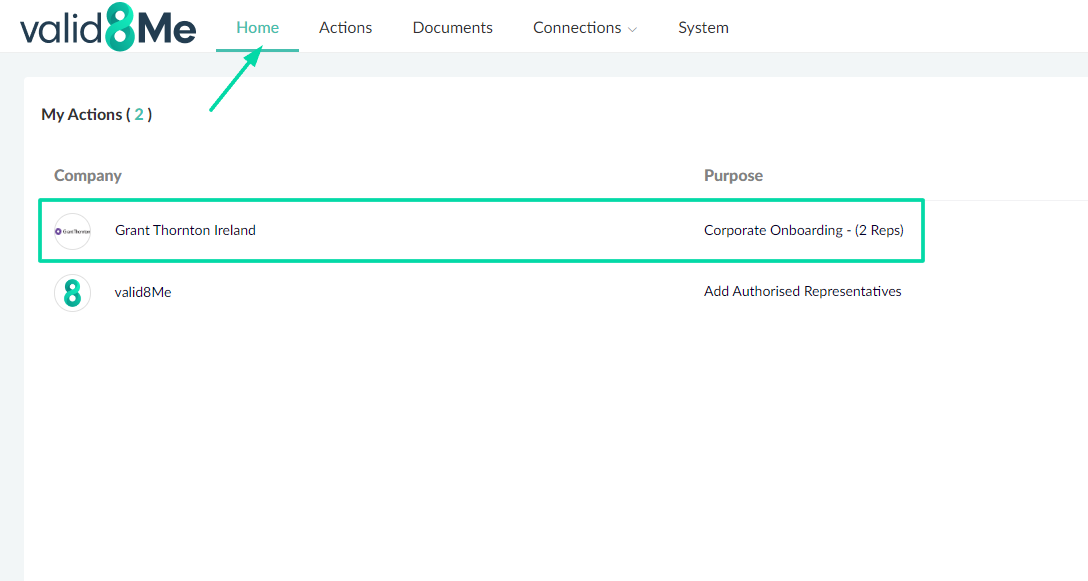
Select "Actions" at the top of your screen to view the request from the onboarding company. Here, you will see a request to share documents for your company and/or documents for Authorised Representative(s). Select the relevant action from the Onboarding Company to proceed:

You will see the following action. In this example, you have been asked to share a Certificate of Incorporation, a Photo ID, and Proof of Address for two authorised representatives. These representatives could be directors, owners, etc. (Please note that your specific request may differ from this example.) Select the first document as highlighted below to upload.
If you have already added authorised representatives, then tick the boxes next to their names. In the example below, we have not yet added any. As highlighted below, select the option to "+Add Authorised Representatives."

As shown in the screenshot below, you can now add your Authorised Representatives (directors, owners, etc.). You have two options. You can send an invite to these authorised representatives by selecting "Online," and they will receive a request to set up their profile/vault and add their documents so they can be shared here.
The other option is to select "Local" and add the documents on behalf of the authorised representatives:

If you select Online you will be prompted to add their email address and invite. Once they have set up their profiles and accepted your request to share documents you will then be able to proceed.
If you select Local you will see the following options. Add the details as requested. You will be prompted to add two Authorised Representatives. If you need to add more then select the option at the bottom of the window to do so:

As seen below you can now choose the Authorised Representatives that you have just added and select next:

You can now select each document to upload on behalf of both authorised representatives, as detailed below.
When uploading Proof of Identification, please note that you need to upload a picture or screenshot. Uploading a PDF will not be permitted. This is to satisfy the document verification checks carried out by the onboarding company.

Once all documents have been uploaded you can now select Consent to finish the process.
You have now successfully set up your Individual and Company vaults on valid8Me. These reusable digital identities can be used for sharing documents again in the future.
If you have any questions on this process please feel free to reach out to our Support team at support@valid8me.com
