A step-by-step guide as to how a corporate customer would add an authorised representative to their account
Note: If you are using the valid8Me mobile app, please click here for the correct tutorial.
Info: An Authorised Representative may be a company owner, director, shareholder, partner, secretary etc.
You have two options when adding an Authorised Representative to your valid8Me account:
- You can invite your Authorised Rep via email to set up their digital identity vault on valid8Me, where they can share their documents with you.
Or
- If you manage the documents for your Authorised Rep, you can add them locally by creating their profile on your portal and uploading their documents.
Scenario 1: Inviting your Authorised Rep via email to set up their digital identity vault on valid8Me, where they can share their documents with you.
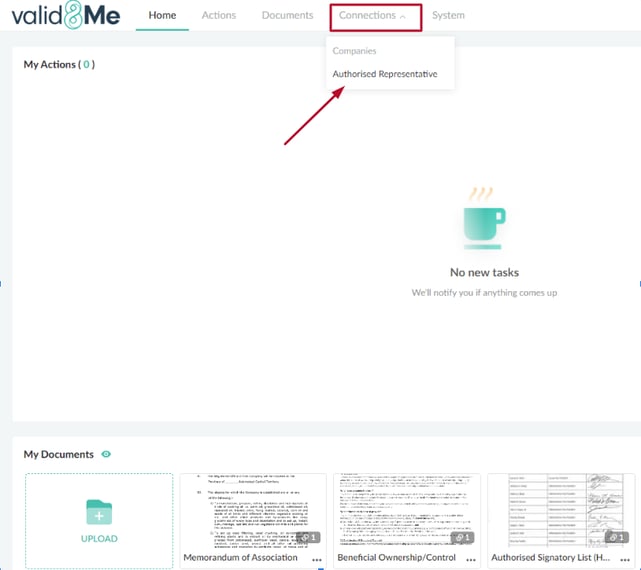
Select Connections at the top of your page > from the dropdown, select Authorised Representatives:
From this window make sure that Online is selected and then choose invite, as seen here:

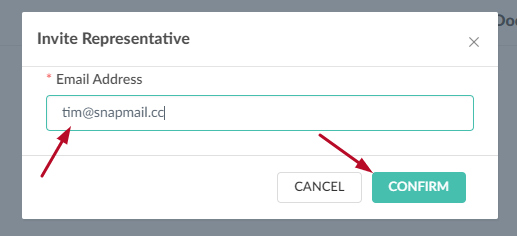
The next step is to add your Authorised Representatives email address and select Confirm:
The Authorized Representative will now receive an email or connection request from you requesting that they share the required documents.
Scenario 2: If you manage the documents for your Authorised Rep, you can add them locally by creating their profile on your portal and uploading their documents.
Select Documents at the top of your page > then select Upload at the top right of your screen, as seen here:

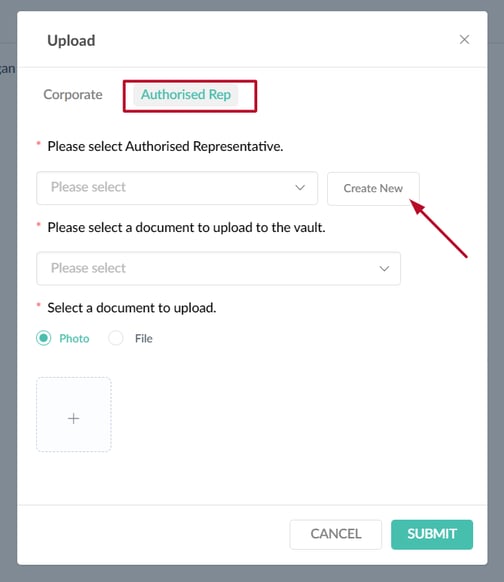
On this screen you will need to make sure Authorised Rep is selected at the top and then select Create New:
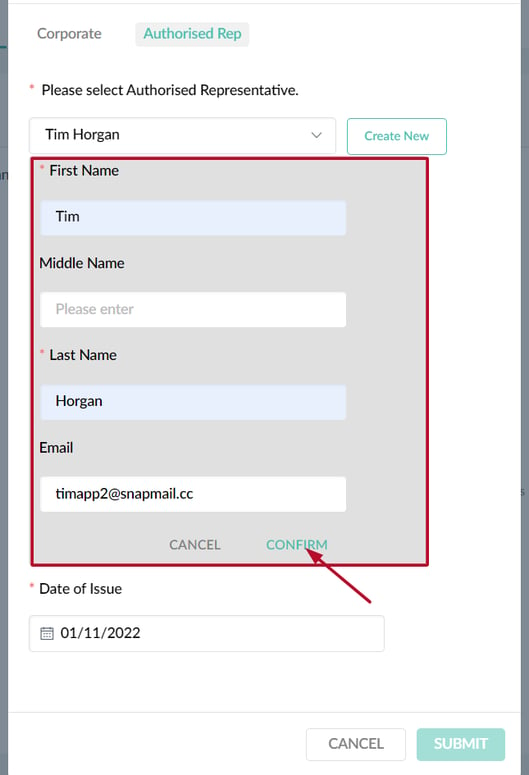
The next step is to fill out the Authorised Representatives name and email address > select Confirm:
Now that you have added the Rep's details, you can choose which documents to upload on their behalf. Select the document type from the dropdown (in this case I have selected Utility Bill) > keep Photo selected (unless it is a PDF) > select the + symbol to upload the document > add the document Date of Issue:
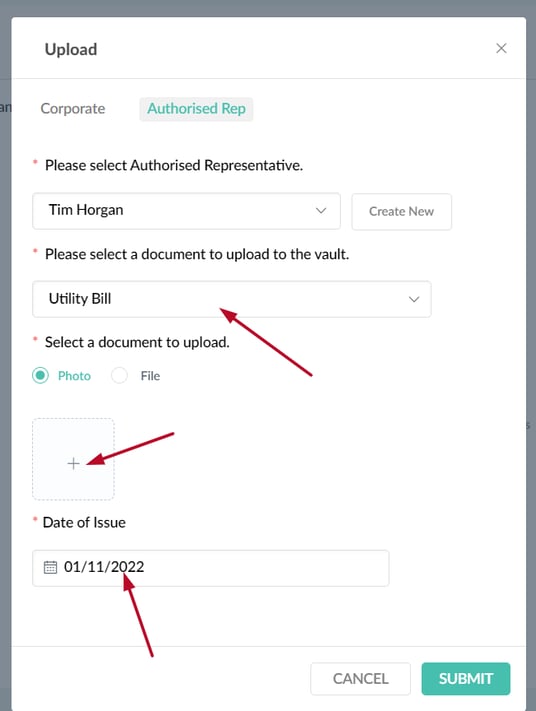
Once you have added all the documents needed, you can select Submit at the bottom right of the window.
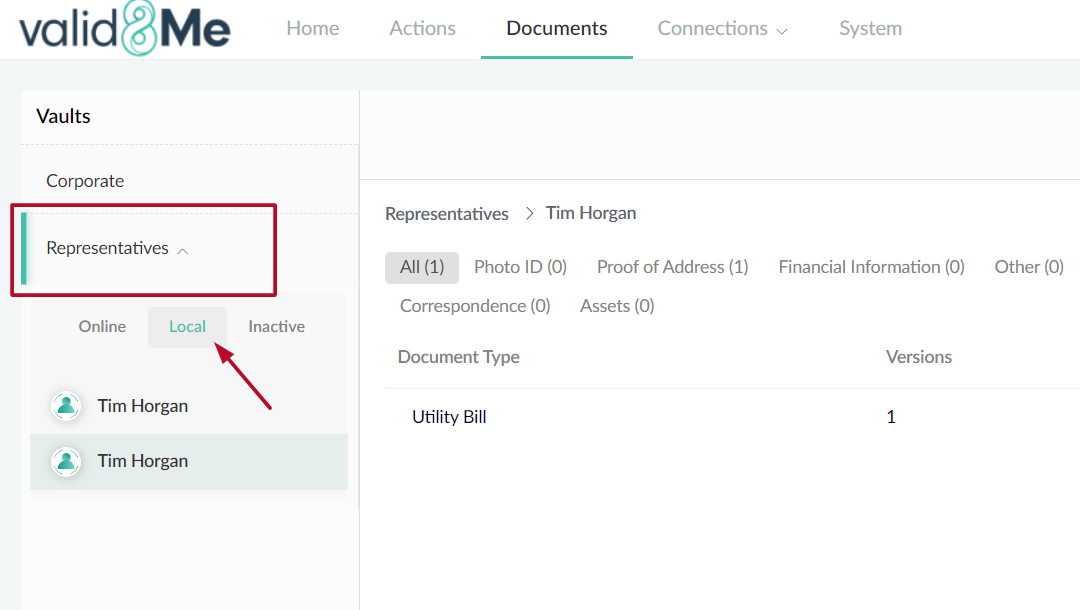
You can now view your local Authorised Representatives and their documents on this page by selecting representatives on the left-hand panel > select Local > choose your Rep. As seen here:
If you need any further assistance with this process please email our Support team at support@valid8me.com.