If you have documentation on file for your client or have sourced it on their behalf, you can set up a Local Vault on your valid8Me onboarding portal. This will only be accessible to you and your team.
Tip: When onboarding a client, you may already have some documents on file, or you may have sourced documents from an information provider. This can apply to both individual and corporate clients. In such cases, you can set up a Local Vault on behalf of the client, which can be either standalone or connected to the client's Online Vault.
To create a Local Vault for your client, make sure that you are on the Overview section of the portal:

Select Create Vault > select Create Local Vault:

Tip: As seen above, there is also an option to Bulk Create Local Vaults. This can be a useful feature if you have a list of clients that you would like to import to your valid8Me onboarding portal. Please follow this guide to Bulk Create Local Vaults.
Select the type of customer or client for whom you wish to create the Local Vault on behalf of:

Once you choose the customer type select Next and fill out the relevant information:

After selecting Confirm, you can now navigate to the Vault Hub on the left-hand panel. From there, select Private Network, and search for the Vault that you just created. Once you find it, select the client's name to open their profile.:


Select the third option along the top menu to choose the Local Vault and from here we select Upload to add the client's documents.

Choose your Document Category, Document Type, and add the Document Name and Issue Date. Select the + to upload the document and select Submit to add to the Local Vault:

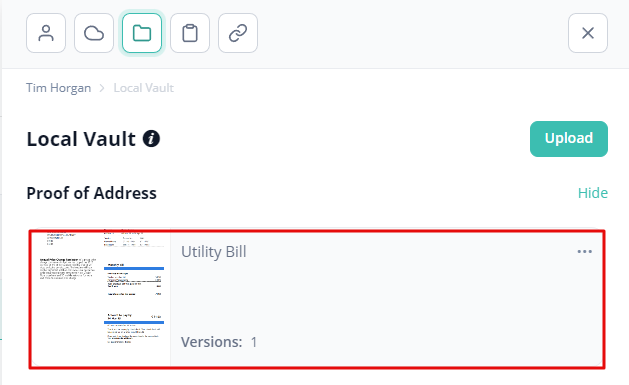
You will now see the document has been added:

Select the document to open and review. Select Upload to add additional documents to the Local Vault.
If you have any questions or concerns about this process, please don't hesitate to contact our support team at support@valid8me.com
